How to program an IoT device in Elixir using Nerves?


Elixir is a great choice language for IoT devices due to its fault-tolerant nature, but also because of the ability to handle a lot of concurrent I/O operations thanks to the BEAM scheduler running under the hood.
Nerves is a platform that comes with a set of tooling that simplifies the process of creation and maintenance of an Elixir app on IoT devices. Software built using it are already battle-tested and working on production, so let's give it a try!
Minimum requirements
Nerves supports most common boards (for example, every type of Raspberry Pi), but there's one restriction: it has to be able to run Linux, that's because Nerves actually runs your Elixir program on a lightweight Linux distro. If you would like to run Elixir on an MCU instead, please check out AtomVM.
Minimum requirements are as follows:
- Hardware able to run Linux, preferably one included in the supported targets list
- SD card with a minimum of 16 GB of capacity
- SD card reader
- Micro USB cable
- Mac OS, Linux, or Windows installed
Please be mindful, that some older USB cables don't come with data transfer lines and those are needed to communicate with the device.
Configuration
Disclaimer!
This tutorial is being written for Mac OS and Raspberry Pi Zero 2 W target. The rest of the operating systems require other actions to be taken, so please follow the official installation guide.
Installing dependencies and tools
The easiest way to install dependencies is to use Homebrew. Just run the following:
brew update
brew install fwup squashfs coreutils xz pkg-config
If you've installed Elixir or Erlang with Homebrew before, uninstall them in order to avoid clashes with ASDF installation:
brew uninstall elixir
brew uninstall erlang
Next, install ASDF and finish the installation by adding sourcing of asdf.sh to your .zshrc file:
git clone https://github.com/asdf-vm/asdf.git ~/.asdf
echo "\n. $HOME/.asdf/asdf.sh" >> ~/.zshrc
echo "\n. $HOME/.asdf/completions/asdf.bash" >> ~/.zshrc
source ~/.zshrc
Then, install Erlang and Elixir using ASDF.
asdf plugin-add erlang
asdf plugin-add elixir
asdf install erlang 25.0.3
asdf install elixir 1.14.0-otp-25
asdf global erlang 25.0.3
asdf global elixir 1.14.0-otp-25
The last step is to install Nerves CLI tooling. In order to do that, update your versions of hex and rebar used by Elixir and install nerves_bootstrap archive.
mix local.hex
mix local.rebar
mix archive.install hex nerves_bootstrap
Creating a new project
With the necessary tooling installed in the previous step, you can now create a new Nerves application:
mix nerves.new hello_nervesNow take a look at the targets list and find your device's tag. I am using Raspberry Pi Zero 2 W, so my device's tag is rpi3a.
Set an environmental variable named MIX_TARGET with your device's target, it will be used for configuring the right firmware.
cd hello_nerves
export MIX_TARGET=rpi3a # replace rpi3a with your device's tag
mix deps.get
While running mix deps.get I've encountered a problem with an unsupported Erlang version and I've had to update it to the newest one using asdf as shown in the previous step. This tutorial will eventually get outdated and such an issue will occur again.
SSH keys
If you don't have any keys in your ~/.ssh/ directory, make sure to generate one. They are needed to authenticate your device while connecting within the local network.
Burning a firmware
Now, plug in your SD card reader, and then build and burn your firmware. Nerves automatically discovers on which disk it has to be burned.
mix firmware
mix firmware.burn
If you put the SD card back in your device and connect to it with the USB cable, you should be able to ping nerves.local. That's thanks to a service that handles Multicasting DNS (mDNS) running out-of-the-box on Mac OS.
Setting up an Over-The-Air updating
One of the best features of Nerves is the ease of over-the-air firmware updating - with just a single command you can push new firmware to a device in the same network.
There's also an external open-source solution called Nerves Hub that provides a web interface for managing updates. Unfortunately, while this post is being written the creation of new public accounts is disabled, of course, you can host your own Nerves Hub instance if you wish, but I won't be describing that process.
Connecting the device to the WiFi
Let's configure the device to work in the local network.
Add a WiFi configuration to the :vintage_net config list in config/target.exs:
diff --git a/config/target.exs b/config/target.exs
index b06b6df..56bf4d9 100644
--- a/config/target.exs
+++ b/config/target.exs
@@ -1,4 +1,5 @@
 import Config
+import System

 # Use shoehorn to start the main application. See the shoehorn
 # library documentation for more control in ordering how OTP
@@ -50,7 +51,18 @@ config :vintage_net,
        type: VintageNetEthernet,
        ipv4: %{method: :dhcp}
      }},
-    {"wlan0", %{type: VintageNetWiFi}}
+    {"wlan0",
+     %{
+       type: VintageNet.Technology.WiFi,
+       wifi: %{
+         key_mgmt: System.get_env("WIFI_KEY_MANAGEMENT", "wpa_psk") |> String.to_atom(),
+         ssid: System.fetch_env!("WIFI_SSID"),
+         psk: System.fetch_env!("WIFI_PASSWORD")
+       },
+       ipv4: %{
+         method: :dhcp
+       }
+     }}
   ]

 config :mdns_lite,
Now, create the necessary environment variables:
export WIFI_SSID=your_wifi_name
export WIFI_PASSWORD=your_wifi_password
After burning a new firmware, you will be able to ping nerves.local from your Mac device in the local network without connecting the USB cable.
Uploading a new firmware
If you upload for the first time, connect to your device via SSH in order to generate a new fingerprint and to make sure that it's available in the network.
ssh nerves.localNow you can use mix upload to upload your firmware over the air:
mix upload.png)
Troubleshooting
If you encounter a problem with authorization, remove the old key, burn your firmware again and follow the steps described in the point above.
ssh-keygen -R nerves.localAdding web interface with Phoenix
The poncho project structure
If you are familiar with the umbrella project structure, the poncho is very similar but it gives you greater control over a configuration order. In short words, instead of using the in_umbrella option, you are adding submodules as ordinary deps in the main service.
Nerves supports both structures, but the poncho is preferred.
Let's move a project directory into a containing folder and create a new Phoenix application named hello_nerves_ui:
cd ..
mkdir hello_nerves_container
mv hello_nerves hello_nerves_container
cd hello_nerves_container
mix archive.install hex phx_new
mix phx.new hello_nerves_ui --no-ecto --no-mailer
Changing hello_nerves_ui
Go into hello_nerves_ui directory and modify esbuild to run only on the host:
diff --git a/mix.exs b/mix.exs
index 07901b2..546a12f 100644
--- a/mix.exs
+++ b/mix.exs
@@ -39,7 +39,7 @@ defmodule HelloNervesUi.MixProject do
       {:phoenix_live_view, "~> 0.17.5"},
       {:floki, ">= 0.30.0", only: :test},
       {:phoenix_live_dashboard, "~> 0.6"},
-      {:esbuild, "~> 0.4", runtime: Mix.env() == :dev},
+      {:esbuild, "~> 0.4", runtime: Mix.env() == :dev && Mix.target() == :host},
       {:telemetry_metrics, "~> 0.6"},
       {:telemetry_poller, "~> 1.0"},
       {:gettext, "~> 0.18"},
Now modify config/prod.exs and set it to listen on port 80 and change host to nerves.local. You also need to set the start option to true , because the server isn't started through mix :
diff --git a/config/prod.exs b/config/prod.exs
index 364c6f7..6dd281a 100644
--- a/config/prod.exs
+++ b/config/prod.exs
@@ -9,7 +9,22 @@ import Config
 # manifest is generated by the `mix phx.digest` task,
 # which you should run after static files are built and
 # before starting your production server.
-config :hello_nerves_ui, HelloNervesUiWeb.Endpoint, cache_static_manifest: "priv/static/cache_manifest.json"
+config :hello_nerves_ui, HelloNervesUiWeb.Endpoint,
+  url: [host: "nerves.local"],
+  http: [port: 80],
+  cache_static_manifest: "priv/static/cache_manifest.json",
+  secret_key_base: "HEY05EB1dFVSu6KykKHuS4rQPQzSHv4F7mGVB/gnDLrIu75wE/ytBXy2TaL3A6RA",
+  live_view: [signing_salt: "AAAABjEyERMkxgDh"],
+  check_origin: false,
+  render_errors: [view: HelloNervesUiWeb.ErrorView, accepts: ~w(html json), layout: false],
+  pubsub_server: Ui.PubSub,
+  # Start the server since we're running in a release instead of through `mix`
+  server: true,
+  # Nerves root filesystem is read-only, so disable the code reloader
+  code_reloader: false
+
+# Use Jason for JSON parsing in Phoenix
+config :phoenix, :json_library, Jason

 # Do not print debug messages in production
 config :logger, level: :info
Changing hello_nerves
In the main project, add hello_nerves_ui dependency:
diff --git a/mix.exs b/mix.exs
index 873d33c..30b9ee4 100644
--- a/mix.exs
+++ b/mix.exs
@@ -55,7 +55,8 @@ defmodule HelloNerves.MixProject do
       {:nerves_system_bbb, "~> 2.14", runtime: false, targets: :bbb},
       {:nerves_system_osd32mp1, "~> 0.10", runtime: false, targets: :osd32mp1},
       {:nerves_system_x86_64, "~> 1.19", runtime: false, targets: :x86_64},
-      {:nerves_system_grisp2, "~> 0.3", runtime: false, targets: :grisp2}
+      {:nerves_system_grisp2, "~> 0.3", runtime: false, targets: :grisp2},
+      {:hello_nerves_ui, path: "../hello_nerves_ui", targets: @all_targets, env: Mix.env()}
     ]
   end
The last step is to import the configuration file from hello_nerves_ui into the main service's config/target.exs.
diff --git a/config/target.exs b/config/target.exs
index 56bf4d9..d0b1771 100644
--- a/config/target.exs
+++ b/config/target.exs
@@ -101,3 +101,5 @@ config :mdns_lite,
 # Uncomment to use target specific configurations

 # import_config "#{Mix.target()}.exs"
+
+import_config "../../hello_nerves_ui/config/prod.exs"
Deploying
When changes are made, you can finally build and upload your firmware to the device.
mix firmware
mix upload
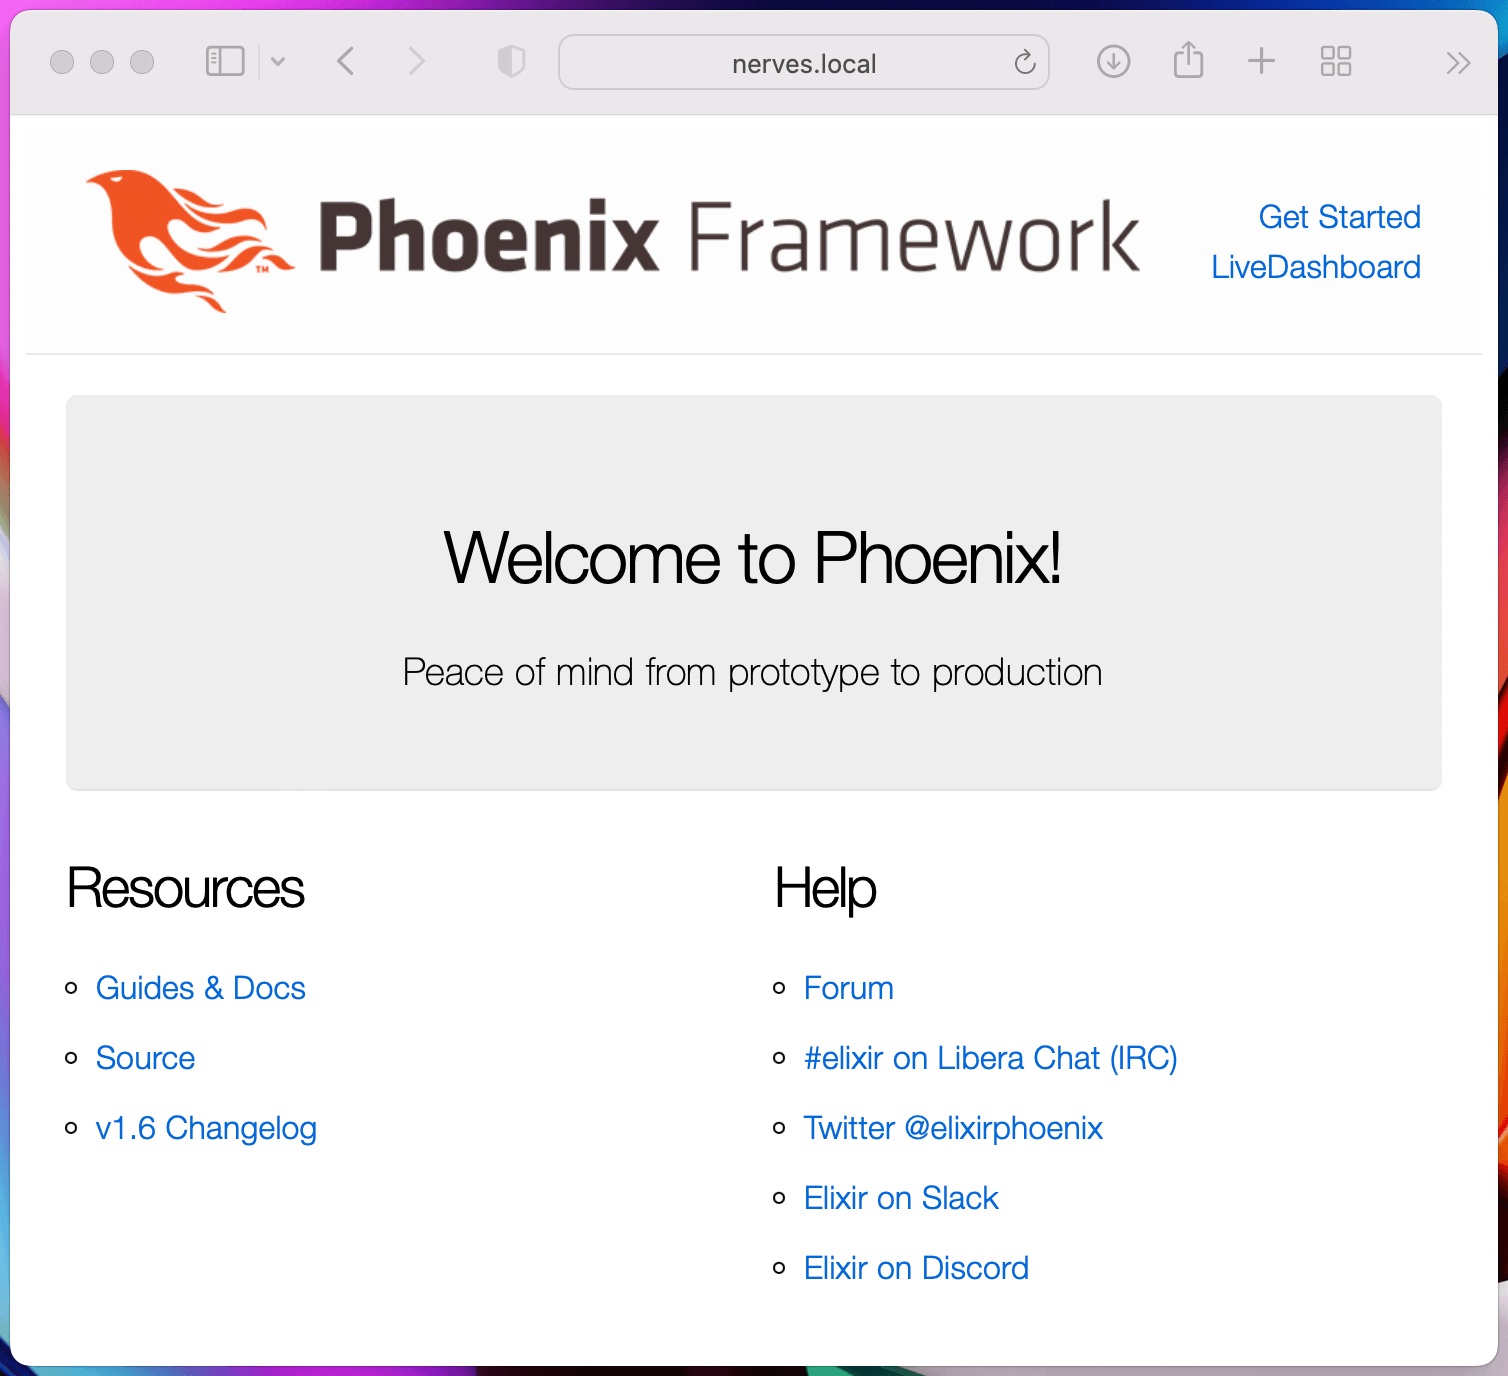
Let's open the browser and go to nerves.local:

Everything works as expected!
Other UI libraries
If you are interested in drawing directly on screen, for example on Raspberry Pi Touch Display or HDMI-connected one, check out Scenic library.
The full list of UI libraries can be found on the official Nerves page.
Want to power your product with Elixir? We’ve got you covered.
Related posts
Dive deeper into this topic with these related posts
You might also like
Discover more content from this category
Elixir is a pretty capable language - and it consistently ranks near the top of most loved and wanted languages rankings.
Elixir, a descendant of the Erlang language, is becoming increasingly popular. Michał shows us its business value, why Elixir programmers are faithful to this language, and how to develop as an Elixir programmer. Read interesting facts about Elixir!
At Elixir Meetup #1, Michał Buszkiewicz shared his extensive knowledge on debugging Elixir applications.


